Simple Tension Device
...and it hardly cost anything.
Common sense can not be built into this tutoriaL, but I'll try my best to be as detailed as possible. The way it works is just like how a tension box works for Sectional Warping. Threads in contact with the dowels puts drag on the threads to create tension. The more surface area contact the yarn has, the more drag. The more drag, the more tension.
The Initial Set Up
Take 2 sticks (anything will do as long as they are the same) and run them from the front to the back of your loom perpendicular to its beams. If your loom doesn't accomodate this, try doing it with just rope (scroll down to see an image of this).
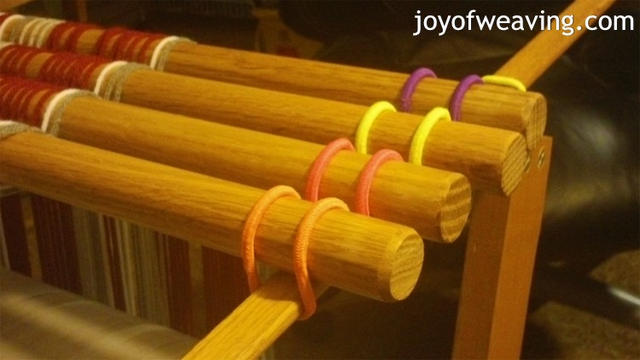
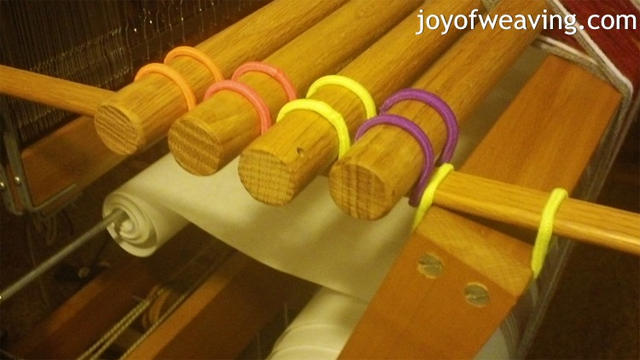
- Put a hair tie on the end of the stick so that the tie is positioned in the inside portion of the loom.
- Place the end of the stick on the beam.
- Slide the tie close to the beam.
- From under the beam, bring the tie up and over the end of the stick.
- Do this for all 4 ends.
If your ties are too small, get bigger ties or loop 2 together to make them longer.
Front to back Warping with Sturdy Yarn
- Anchor the warp to put tension on it.
- Create a shed.
- Insert a dowel into the shed
- Place hair ties on dowel to secure to sticks.
- Repeat as many times as you like for desired tension.
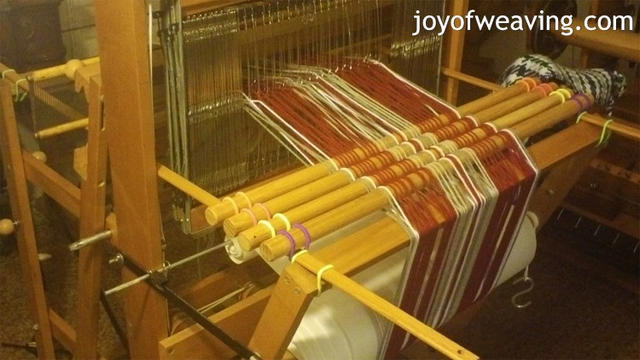
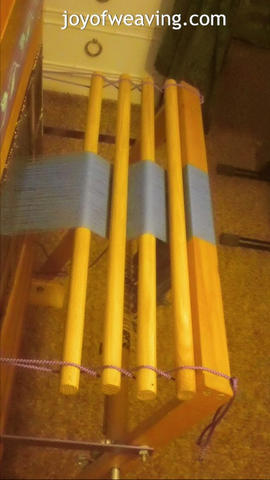
For Fine Yarns or Back to Front Warping
- Place 2 dowels on the sticks as described above, leaving a space between them.
- Attach your warp in your usual manner.
- Place dowels on top of the warp between the spaces of the existing dowels (as pictured).
- Attach to sticks as described above.
TIP: You can create multiple crosses in the warp on the warping board to accept each of the dowels when using sturdy threads. This should only be done with sturdy threads. Fine threads need to go over/under all in one go as pictured below, otherwise they will get tangeled between the dowels and break.
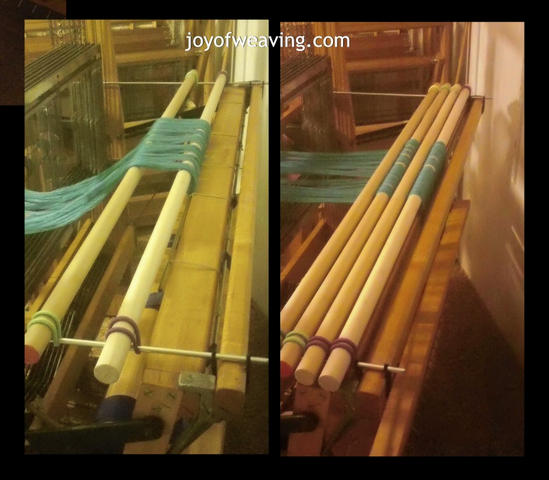
If you can't get sticks to run from the front to the back of your loom, use rope. Twist the rope and insert the end of the dowel as pictured. Since the dowels are spread further apart, there is less surface contact and not as much tension as you would normally get with the previous methods, but it can still work. I achieved a nice tension with the warp in this picture.
After your warp is beamed, removed the device.
Works with just about any kind of loom. Here it is being used with the frame for my rigid heddle!
